
You decided to use Stripe and it’s payment links to sell your services or products. That\’s great, you can start accepting payments right away and create revenue for your business.
In the process you discover that with the default confirmation page of Stripe you cannot track your sales properly or send data to analytics, Google Ads or Facebook ads. The other issue is that you cannot code and you want a simple solution to your problem.
Good news, you can create a custom confirmation page for Stripe with the help of a little WordPress plugin, WP Stripe Confirmation Page plugin.
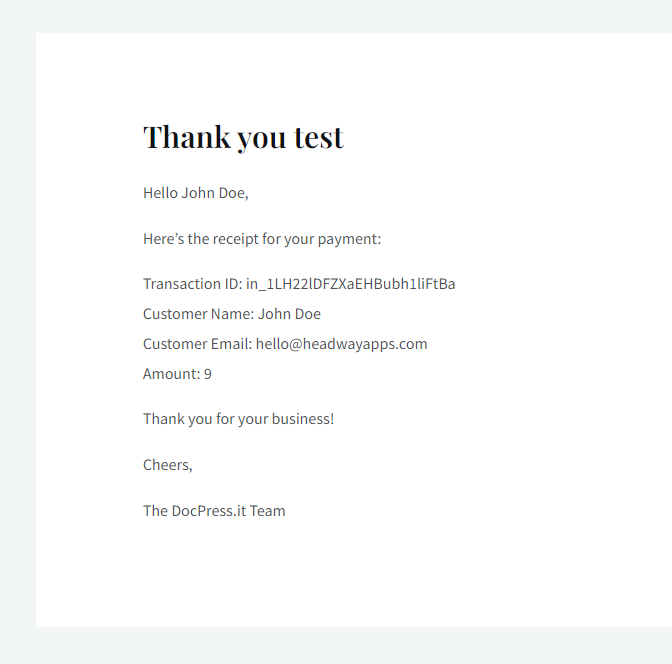
With the WP Stripe Confirmation Page plugin you can create a simple thank you page that will help you track your sales or goals or send data to your analytics system, affiliate software or more.
What you need:
- WordPress Site
- WP Stripe Confirmation Page plugin
- Stripe Secret Key
Let’s get started.
Step 1
Create a page on your WordPress site and name it Confirmation Page or Thank You page and add the shortcode [[stripe-confirmation]].
Step 2
Install the WP Stripe Confirmation Page plugin and configure your settings. Add your Stripe test secret key for testing and replace it with a live secret key when you are done testing. Add any tracking script you need in the header or footer section.
Step 3
Change the default confirmatio page of your Stripe payment link with your new custom url:
https://yoursite.com/confimation-page/?session_id={CHECKOUT_SESSION_ID}
You are done. Now your Stripe payment link for that product will redirect the user to the new confirmation page.
Conclusion
Is that easy to create a Stripe confirmation page with no-code. In less than 5 minutes you can create the page, set everything up and redirect customers back to your site.